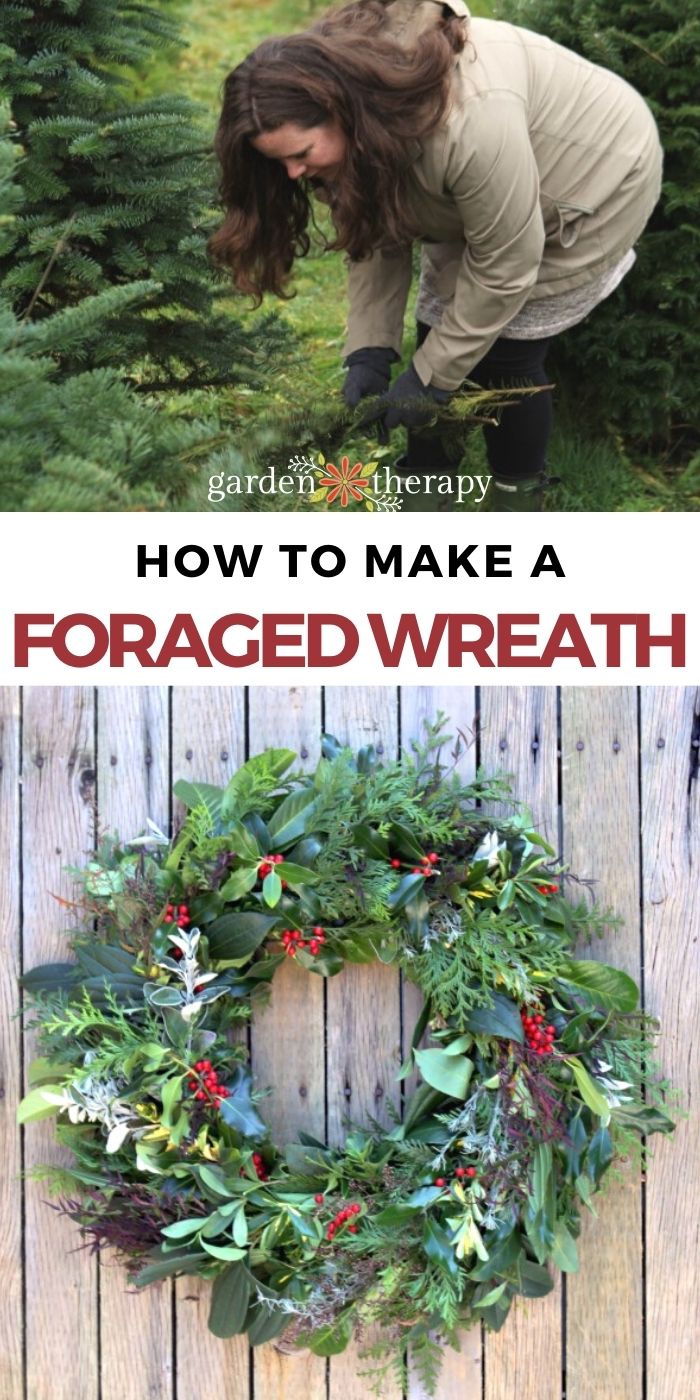
Learn how to make a fall wreath using clippings from your yard with these simple steps. Create a beautiful seasonal decoration using natural materials.

Credit: www.mommysplaybook.com
Constructing The Fall Wreath
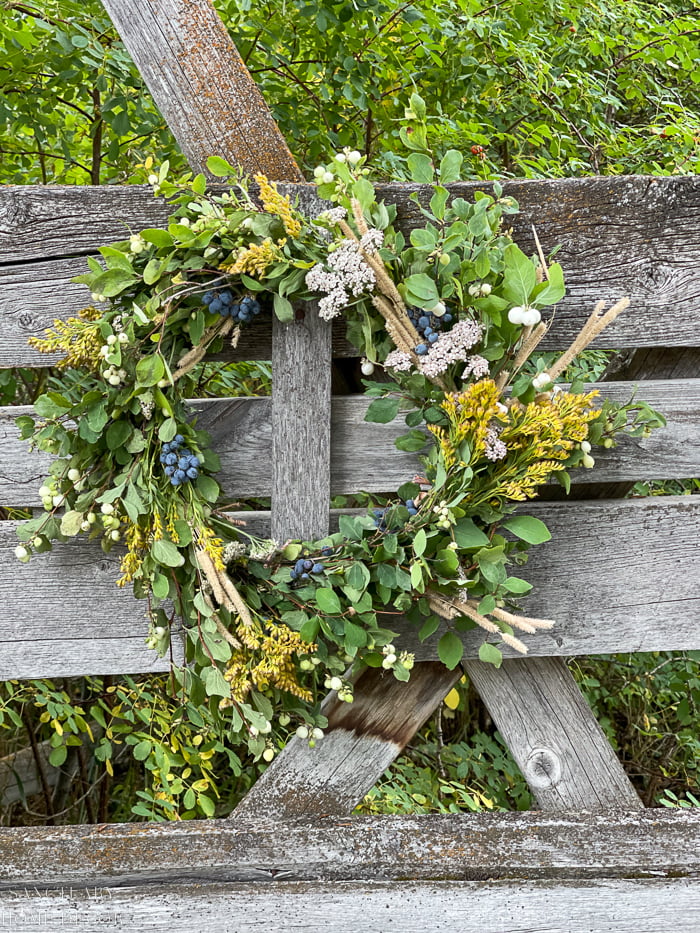
Creating a beautiful fall wreath using yard clippings is a simple and enjoyable autumn DIY project. Not only does it allow you to showcase the natural beauty of your surroundings, but it also adds a touch of seasonal charm to your home. In this section, we will guide you through the process of constructing the fall wreath step by step. From creating the wreath base to arranging the clippings and adding decorative elements, you’ll have a stunning fall wreath in no time!
Creating The Wreath Base
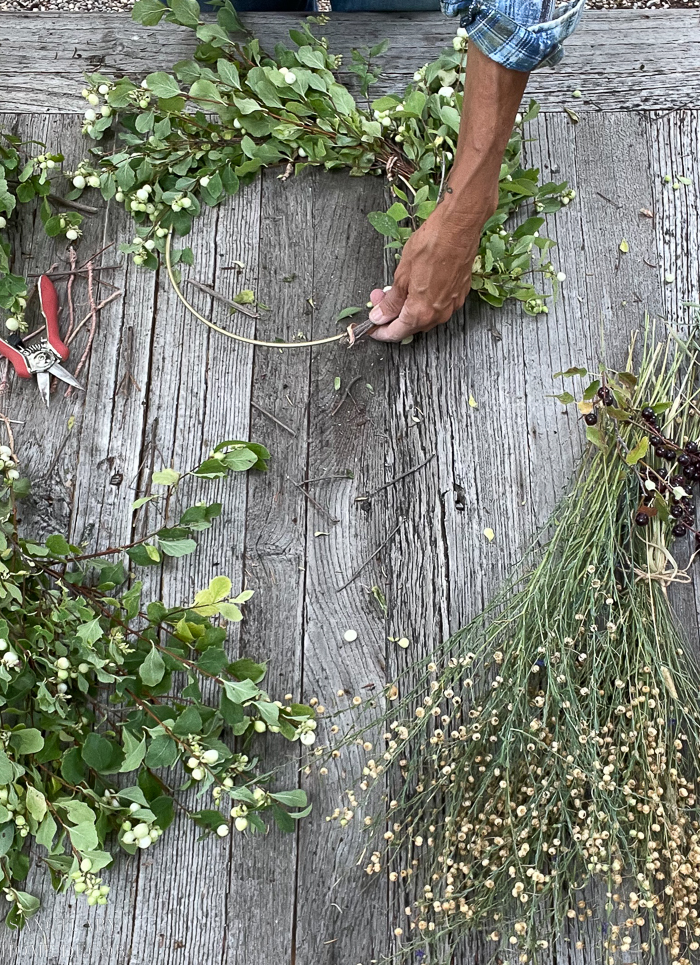
First and foremost, you need to gather the necessary materials for the wreath base. Start by collecting a sturdy wreath frame made of wires or branches. Ensure that the wreath frame is the desired size for your wreath. You can purchase a wreath frame from a craft store or repurpose an old one.
Next, gather clippings from your yard that reflect the colors and textures of fall. This can include leaves, twigs, berries, and flowers. Make sure to select clippings that are flexible and easy to work with. Moreover, consider incorporating different sizes, shapes, and colors to add visual interest to your wreath.
Arranging The Clippings
It’s time to get creative! Start by attaching the clippings to the wreath frame using floral wire or hot glue. Take a clipping and place it against the wreath frame, securing it in place by wrapping the wire around it or applying glue. Continue this process, overlapping the clippings slightly, until the entire wreath frame is covered.
As you arrange the clippings, be mindful of the overall shape and proportion. Maintain a balanced distribution of colors and textures throughout the wreath. Vary the angles and directions in which you attach the clippings to create a natural and organic look. Step back frequently and assess the wreath’s appearance from different angles to ensure it’s visually appealing.
Adding Decorative Elements
To make your fall wreath truly stand out, consider adding some decorative elements. Incorporate items such as pinecones, acorns, corn husks, or miniature pumpkins for an extra touch of autumnal charm. Attach them to the wreath frame using wire or glue, strategically placing them to create a balanced and pleasing arrangement.
Additionally, you can embellish the wreath with ribbons, bows, or a seasonal welcome sign. Attach these decorations securely to the wreath frame, ensuring they don’t overpower the natural beauty of the yard clippings. Use your creativity and experiment with different combinations to achieve the desired look for your fall wreath.
There you have it! With these simple steps, you can easily construct a stunning fall wreath from yard clippings. Remember to enjoy the process and let your creativity shine. Hang your finished wreath on your front door, in your living room, or anywhere that needs a touch of cozy autumn magic. How to make a fall wreath from yard clippings is now an easy and enjoyable project for everyone!
Tips And Tricks
Here are some helpful tips and tricks to create a stunning fall wreath from yard clippings, making it an easy and enjoyable DIY project. By following these suggestions, you will be able to balance colors and textures, add fragrance, and securely fasten the clippings.
Balancing Colors And Textures
When it comes to designing a fall wreath, finding the right balance of colors and textures is key. Incorporating a variety of hues and materials can create a visually appealing wreath that captures the essence of the autumn season. Here are a few steps to help you achieve a well-balanced wreath:
- Begin by gathering an assortment of yard clippings, such as leaves, twigs, and branches, in different colors and sizes.
- Arrange the clippings in small piles, separating them by color and texture.
- Experiment with different combinations, mixing and matching the clippings to create a harmonious blend of colors and textures.
- Ensure that the colors and textures are distributed evenly throughout the wreath, avoiding any clumps or imbalances.
Adding Fragrance
In addition to its visual appeal, a fall wreath can also provide a delightful fragrance. Incorporating scented elements into your wreath will add an extra dimension to its overall charm. Here are a few ways to infuse your wreath with a pleasant aroma:
- Consider including scented flowers or herbs that are commonly found in the fall, such as lavender, rosemary, or eucalyptus.
- Intertwine cinnamon sticks or dried orange slices throughout the wreath to release their fragrant scents.
- Apply a few drops of essential oils, such as cedarwood or pine, directly onto some of the clippings.
- Place the wreath near a heat source, such as a fireplace or heating vent, to intensify the aroma.
Securing Clippings
Once you have crafted the perfect arrangement of colors, textures, and fragrances, it’s important to securely fasten the yard clippings to your wreath base. This will ensure that your creation remains intact throughout the fall season. Follow these steps to securely attach the clippings:
- Select a sturdy wreath base made of wire or grapevine, as these materials provide a solid foundation for attaching the clippings.
- Use floral wire or hot glue to secure the clippings to the wreath base, ensuring that each piece is firmly attached.
- Place a small amount of hot glue or wire on the backside of each clipping before attaching it to the base, as this will provide extra support.
- Regularly inspect your wreath throughout the season and make any necessary adjustments to keep the clippings in place.
By following these tips and tricks, you can create a beautiful fall wreath from yard clippings step by step. Let your creativity flourish as you balance colors and textures, add delightful fragrances, and securely fasten the clippings to your wreath. Get ready to welcome the autumn season with a stunning handmade creation that will impress all who see it!
Displaying And Maintaining Your Fall Wreath
Once you’ve created your beautiful fall wreath from yard clippings, it’s time to find the perfect spot to display it and ensure it stays looking fresh throughout the season. Here are some tips on choosing the right location and caring for your wreath to make it last:
Choosing The Right Location
Where you choose to display your fall wreath can greatly impact its appearance and longevity. Consider the following factors when finding the perfect spot:
- Indoor or Outdoor: Decide whether you want to hang your wreath indoors or outdoors. If placed outdoors, make sure it is protected from harsh weather conditions.
- Visibility: Choose an area where your wreath will be seen and appreciated. The front door, above the fireplace, or on a prominent wall are popular options.
- Lighting: Pay attention to the lighting in the chosen location. It should complement the colors and textures of the wreath, enhancing its overall beauty.
Caring For Your Wreath
To keep your fall wreath looking fresh and vibrant throughout the season, follow these simple maintenance tips:
- Avoid Direct Sunlight: Excessive exposure to direct sunlight can cause the colors in your wreath to fade. Hang it in an area where it’s protected from prolonged sunlight.
- Dust Regularly: Dust accumulating on your wreath can dull its appearance. Gently remove any dust particles using a soft-bristled brush or a hairdryer on the lowest setting.
- Keep Moisture at Bay: Excess moisture can cause the natural materials in your wreath to deteriorate. If you’ve hung it outdoors, make sure it’s sheltered from rain and sprinkler systems.
- Rotate Display: To avoid one side of your wreath receiving more wear and tear, periodically rotate its position. This will help maintain its symmetrical shape.
By following these simple steps, you can ensure your fall wreath made from yard clippings stays vibrant and eye-catching throughout the autumn season. Enjoy the beauty this handmade creation brings to your home!
Credit: gardentherapy.ca
Credit: sanctuaryhomedecor.com
Frequently Asked Questions For How To Make A Fall Wreath From Yard Clippings
What Are The Best Yard Clippings For Making A Fall Wreath?
Using fresh greenery like pine, magnolia, and cedar will ensure a vibrant, long-lasting wreath.
How Do I Preserve Yard Clippings For A Fall Wreath?
To maintain color and freshness, air dry the clippings for a few days before crafting the wreath.
Can I Add Flowers To A Fall Wreath Made From Yard Clippings?
Incorporate dried flowers like hydrangeas and sunflowers for a beautiful pop of color in the wreath.
What’s The Best Way To Hang A Fall Wreath Made From Yard Clippings?
Use a strong, durable wire or a decorative ribbon to securely hang your fall wreath on your door.
Conclusion
Create a unique and eye-catching fall wreath by utilizing yard clippings. Transform your outdoor space into a cozy haven with this simple DIY project. By following these easy steps, you can bring the beauty of autumn to your front door.
Enhance your creativity and showcase your personal style with a handmade wreath that will impress both your friends and visitors. So, why wait? Start gathering your yard clippings and begin crafting your own stunning fall wreath today!